


 |
| Courtesy of Mother, Erin |

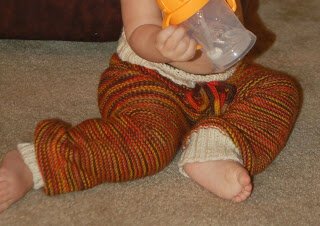
I rolled down the waistband (the white ribbing) as these are for a much taller 1-year-old. I tried adding a few extra rows in the bum and legs, as well as a few extra stitches when casting on the waist, in order to allow room for growth. The drawstring will keep these pants snug while they are growing into them.
With Circular needles (size 2) CO 78 or 82 for a 9-12mo. *I tried to make the crotch a little longer so these could last a bit longer, maybe even making them a 12-18mo range as the waist band could be rolled down for a 12-month-old and tied a little snugger with the drawstring.
K2 P2 for desired waistband length (I did 16 or 17 rows for this one, but now I realize this may have been too many. Next time I think I'd go with only 12 rows). Swap to main color (with US size 3 needles) and continue to knit around, adding a short row every 5th round, being sure not to end (or start crotch) on one of these rows. *Short Row: Knit half way around, turn, slip first stitch then purl back to start of row. Turn, slip first stitch and continue in K pattern.*
Crotch: Once desired length is reached to crotch (I think 6 sets of short rows would be a nice normal rise; or 48 total rows before crotch), knit around the first half of the row (half the number of total stiches). Kitchener-stitch closed 3-6 stitches, being sure that there are equal number of stitches on either side (to make up the legs). Leave the circular needles on one leg and pick up the other leg's stitches with double point needles (dpn).
Leg: After stitching the crotch, pick up 8 stitches along the crotch area and increase twice (=4 stitches in 2) half way around the leg. Continue knitting around the leg until you reach your desired length.
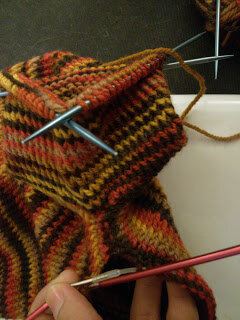 |
| Admiring the stitched crotch as it starts to take shape. |
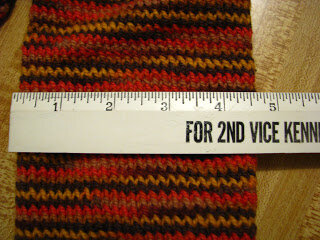 |
| Measuring leg width |
Change to accent color (in my case, white) and K2 P2 for a ribbed cuff for about 14-15 rows. If you have an uneven number of stitches (must be divisible by 4 for this rib pattern), Knit 2 together (k2tog) until first number divisible by 4 is reached. I had 54? stitches. Once desired length is reached, cast off.
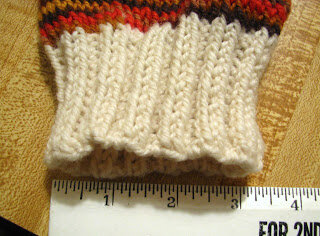 |
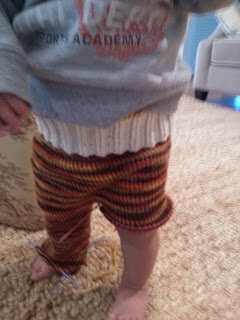
| Ribbing makes the cuff shrink a little for better fit. |
Second leg: Slip stitches onto dpns. Pick up 8 stitches along crotch area and don't forget to increase twice half way around the leg (making 2 stitches in one, twice, along the outside of the leg). Continue knitting until it is the same length as the first leg. Change to accent color and K2 P2 for cuff for the same number of rows as the first. Cast off.
*Great news! Here is the feedback I received from this recipient's mother who lanolized them at home:
"Let me just say I LOVE the longies! I am obsessed! They fit her amazingly. There is so much room in the bum for her bulky diaper! I have never had a pair that fit so well on her! And I LOVE the cuffed ankle and slim fit on the legs. I'm happy to report they lasted over 12 hours over night with not one hint of wetness in the morning!"